Focusing on
in Southern California

San Diego County Fair
Our good friends wanted to go to the San Diego County Fair, so we joined and naturally I brought my camera! I’ve seen some incredible fair photoshoot pics on Pinterest with lights and spinning ferris wheels that I wanted to recreate. But I didn’t actually know how to edit fair photos before we went! Here’s a look into my thought process and what I actually shot vs. the final result.
For this particular shoot, I took my Canon R and a recently purchased 35mm 1.8f lens.
We didn’t arrive until about 7pm, so the light was fading fast. And, let me tell you, it was crowded. Shots without people were impossible. That’s okay this time! I really wanted this to feel like a documentary and more raw than perfectly styled and posed. We also weren’t dedicating any time to photos, so everything was snap and go.
There’s another fair in Perris coming up where we’ll do more posed pictures 🤞
The Beginning
My friend loves the philly cheese steak fries so we started off with food – as all adventures should! – and I got some establishing shots.
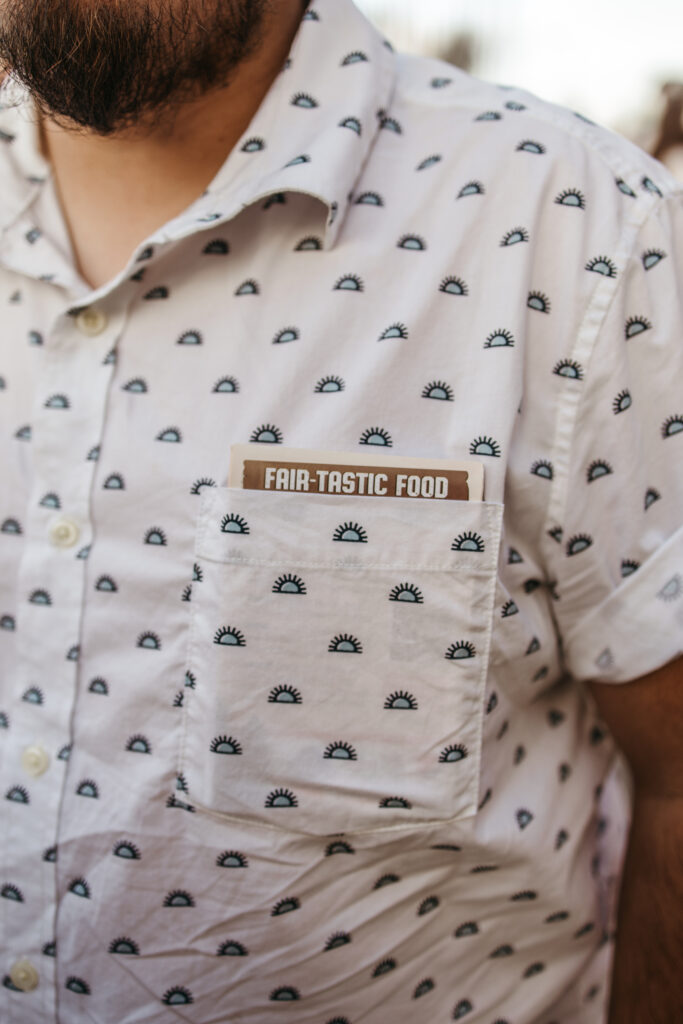
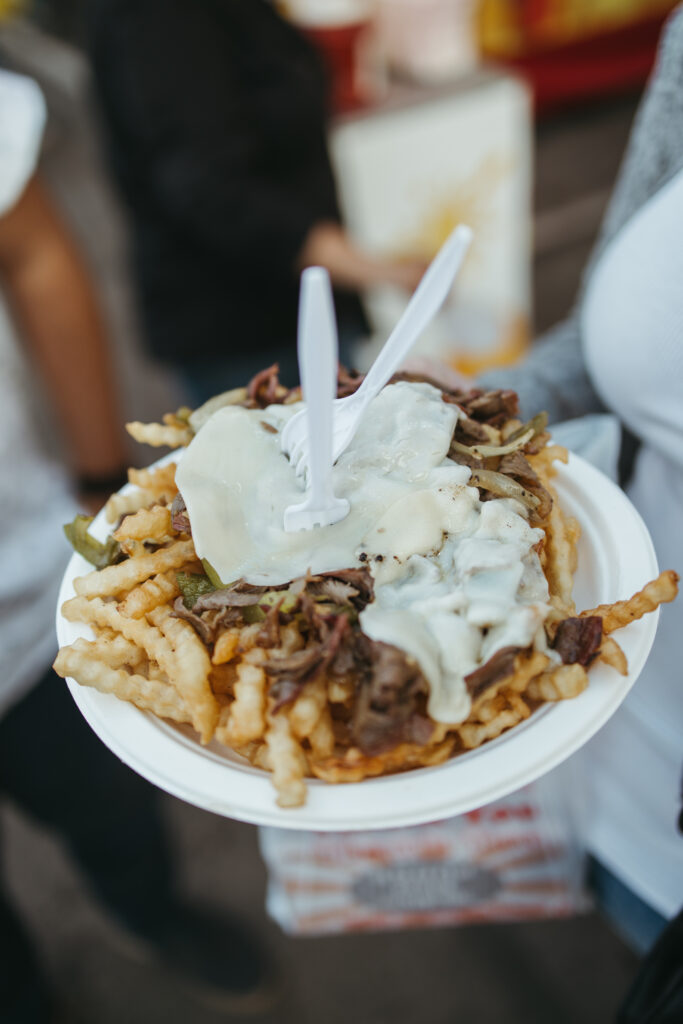
Then we walked, and walked..and walked!
Although it’s an industry taboo, I’ll show RAWs because I think it’s helpful when learning. All were taken with auto white balance.
Thought process:
I didn’t want to overexpose the sky (I mean it still happened, but not as badly as other times) so my settings were low to keep detail. This made the subjects a lot darker than I intended.
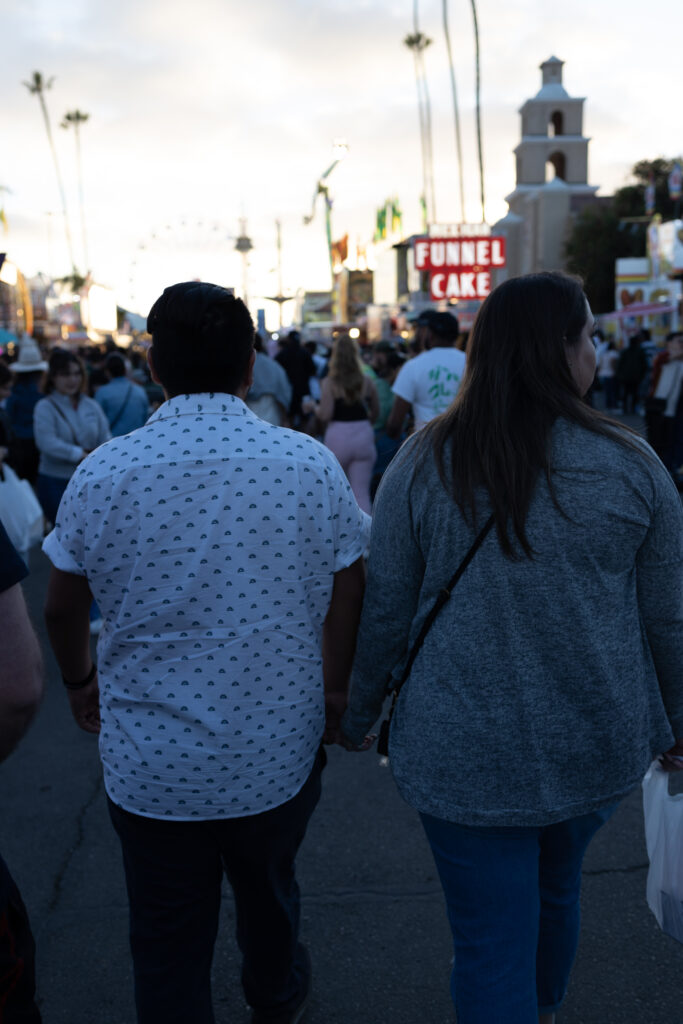
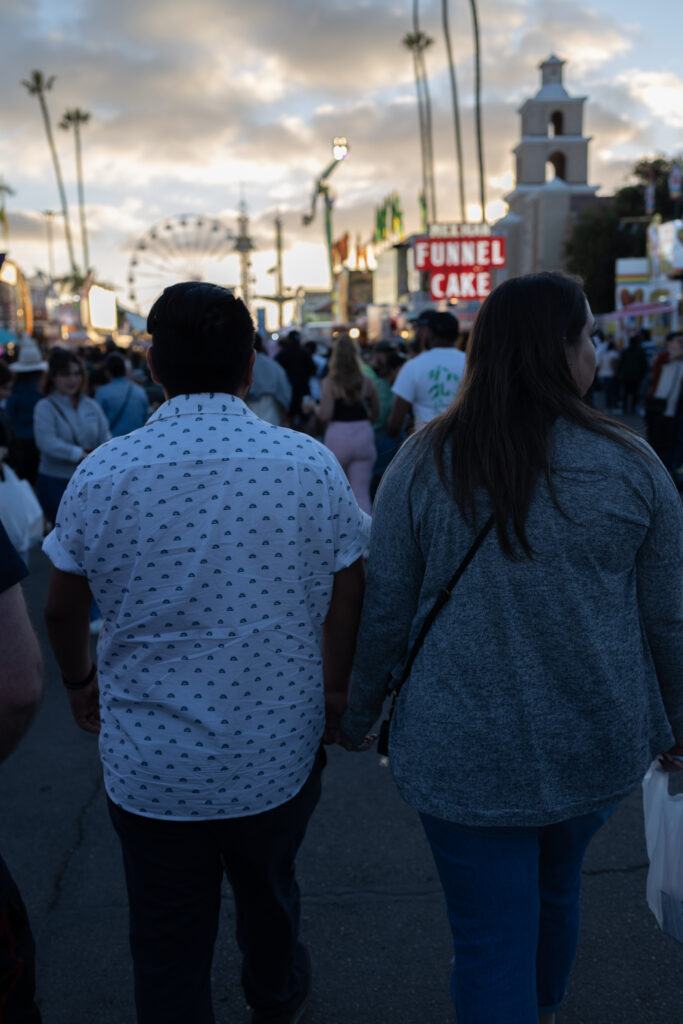
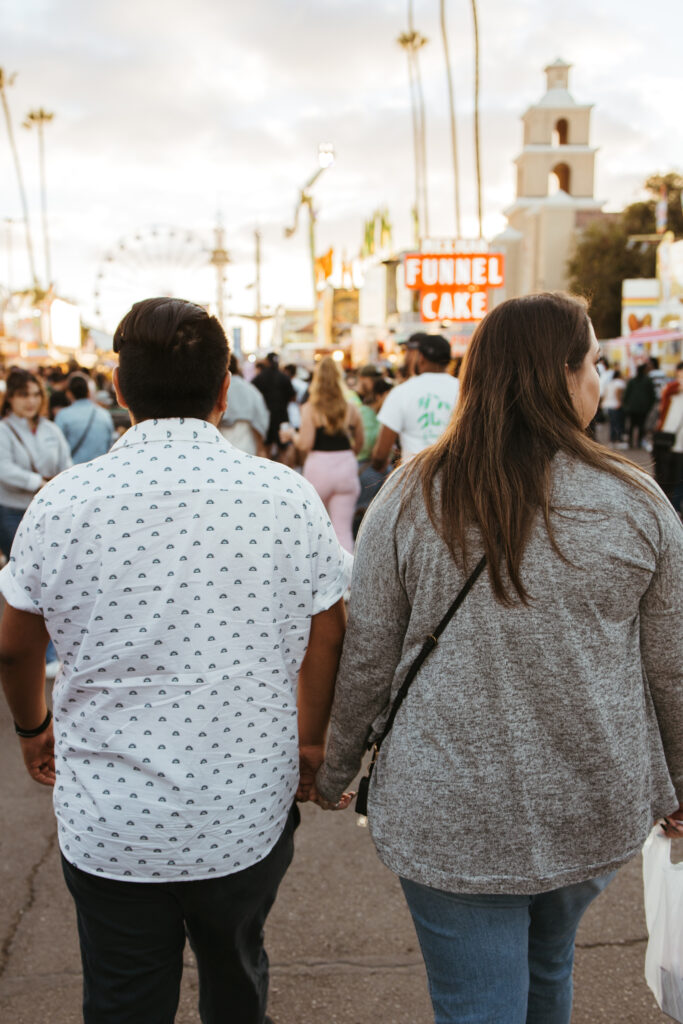
Why You Should Crop Your Photos
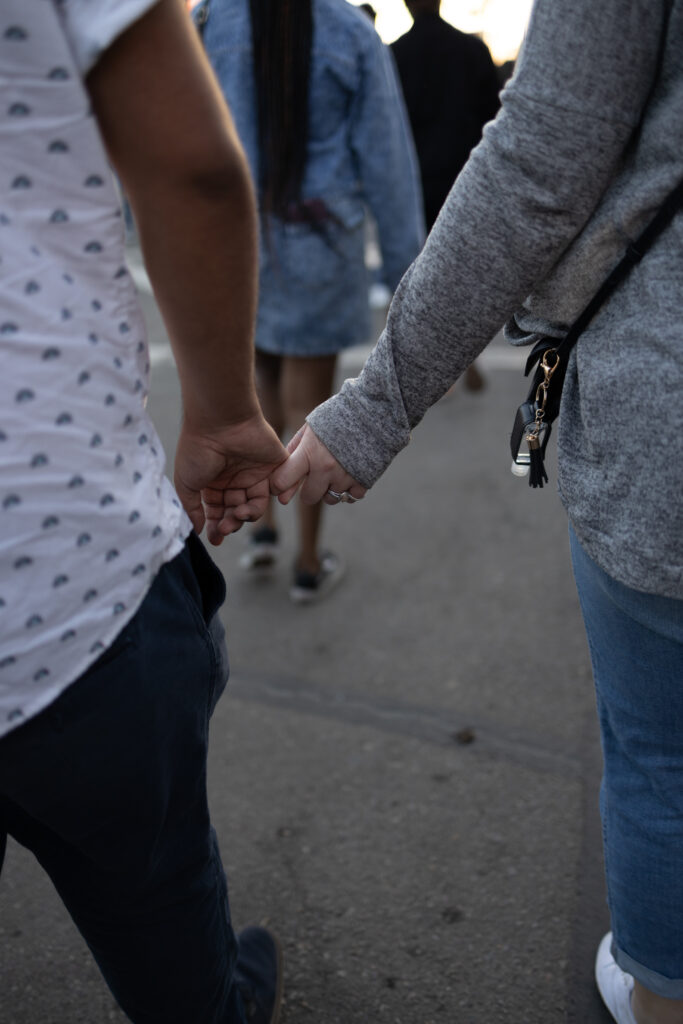
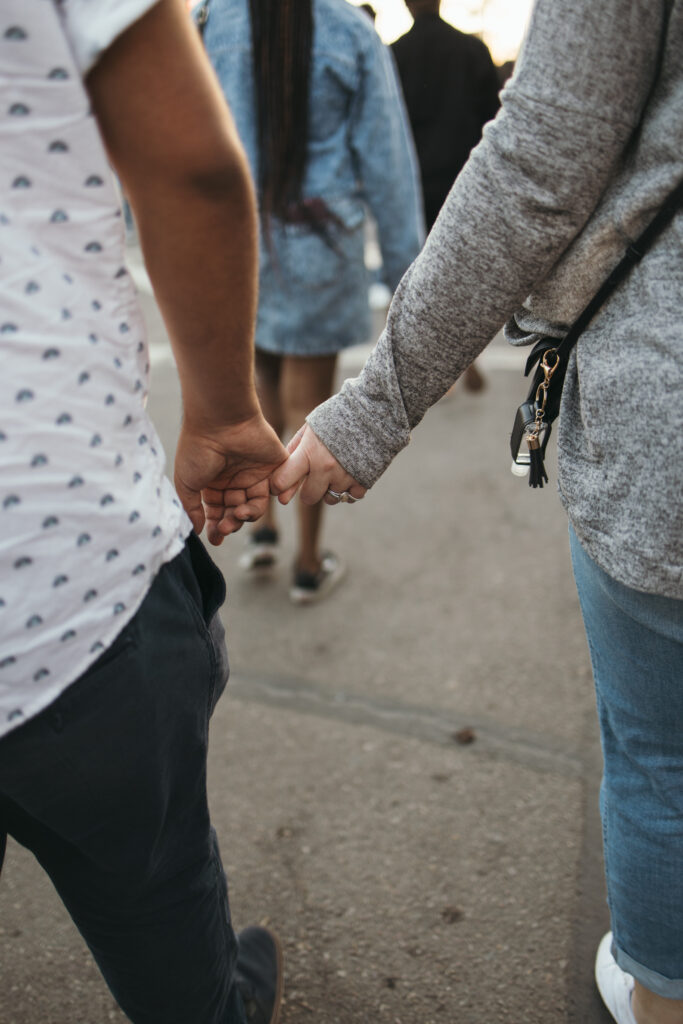
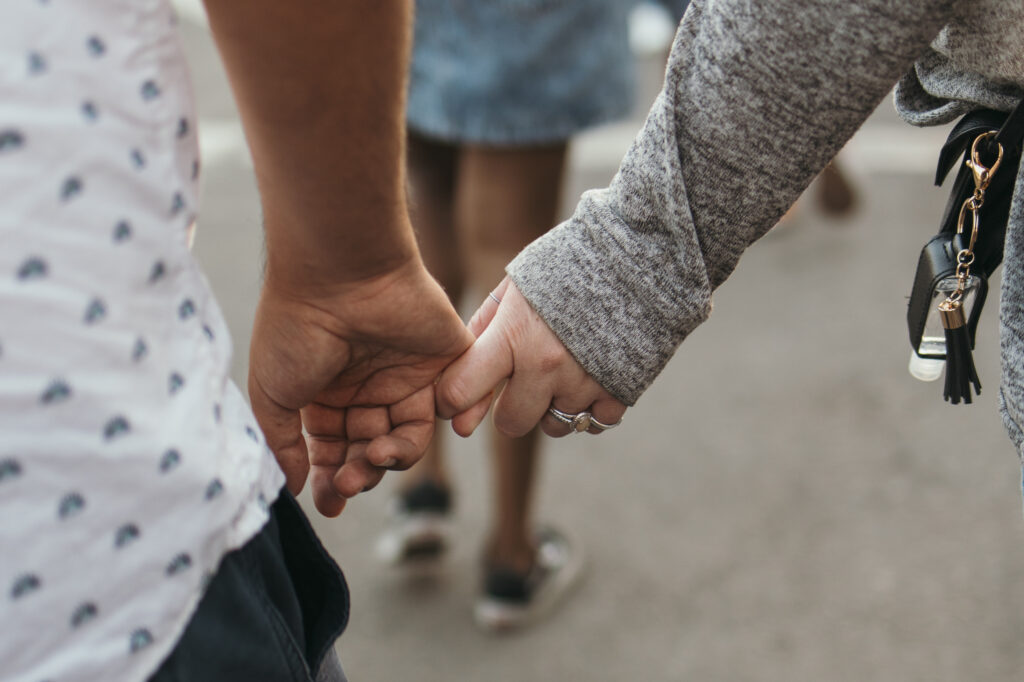
I don’t tend to extremely crop my photos, but here heir hands are the focus and I really wanted to highlight that. I felt the legs behind the hands were distracting and wanted to play around, so I migrated to Photoshop. Generate AI did horrendous when trying to remove it. I ended up using the clone stamp over most of the picture. The white line caused enough of a headache, I ended up deleting it as well. Rough estimate: it probably took 45 min – 1 hr to end up with the final picture. A lot of time was spent trying to recreate the white line, only to then realize it wasn’t actually needed.
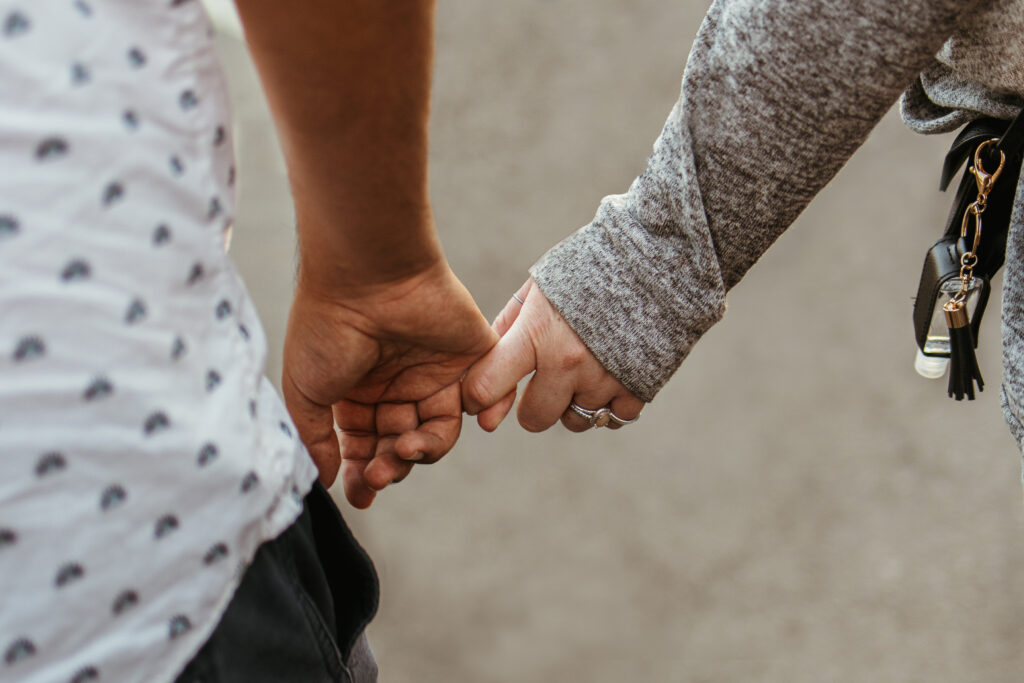
I can’t top this photo, so we’ll end here. Let me know if seeing the RAWs and settings are helpful in the comments below!